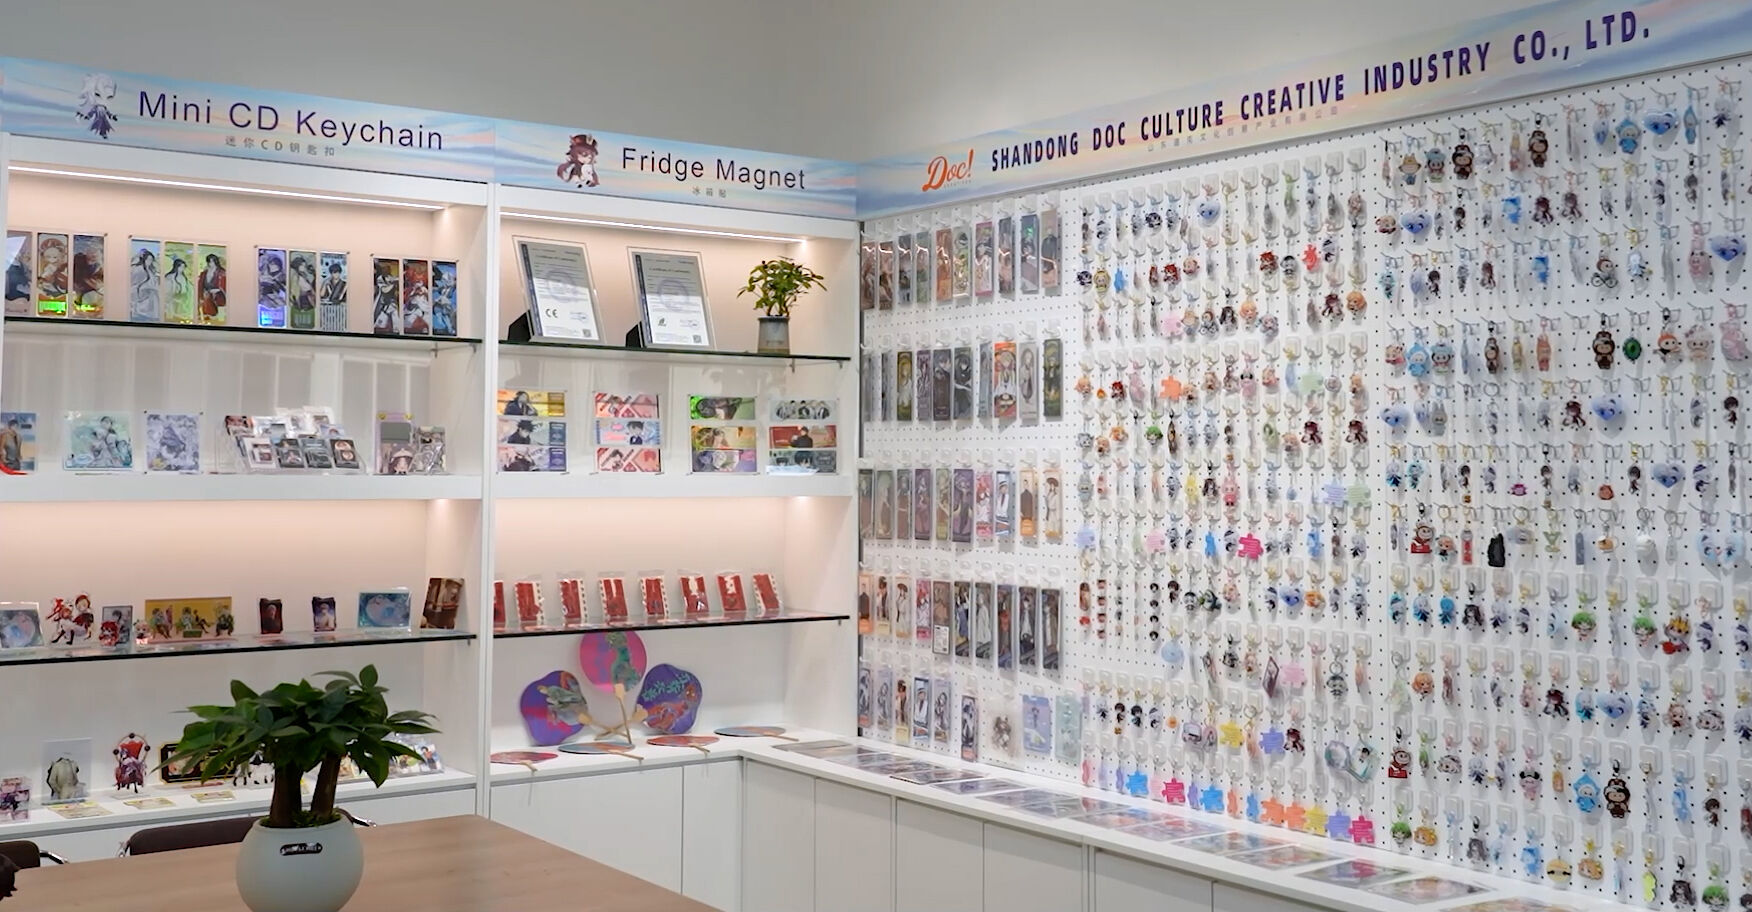
If you’ve ever walked through the "Artist Alley" at a comic convention, you’ve seen them: vibrant, glossy, and irresistibly collectible acrylic keychains. They are a staple for independent artists because they are high-margin, durable, and the perfect way for fans to carry a piece of art everywhere.
But how do you go from a digital drawing on your tablet to a professional-grade physical product? Here is the step-by-step guide to making convention-ready acrylic charms.
1. Start with High-Resolution Artwork
The most common mistake beginners make is working in a low resolution. For a crisp print that doesn't look "pixelated," your canvas should be set to at least 300 DPI. Even though the keychain is small, the printer needs that extra data to capture the fine lines of your character’s eyes or hair.
2. Choosing Your Shape: Full Background vs. Die-Cut
Decide how you want your keychain to be cut. This depends entirely on your art style:
Full Background (Regular Shape): If your art is a complete scene (like a landscape or a starry night), a rectangular or square cut works best.
Contour Cut (Irregular Shape): This is the most popular choice for "chibi" characters. To achieve this, you must provide your artwork with a transparent background (PNG or PSD).
The Bleed Zone: Always include a 2.5mm bleed. This is a small "safety buffer" beyond your design. It ensures that if the mechanical cutter shifts slightly, your art won't be clipped.
3. The "Text" Trap: Front and Back Design
Many artists want double-sided keychains. However, if your design includes text (like a character name or your social media handle), you have to be careful.
The Mirror Effect: If you only send one file, the back side will be a mirror image. This means your text will be backward and unreadable!
The Fix: You must provide separate front and back drawings. Our production team will align them perfectly so that the text reads correctly from both sides. This is the hallmark of a high-quality convention charm.
4. Expert File Setup (We Can Help!)
Preparing "cut lines" and "hole placements" can be intimidating for new creators. The good news? You don't have to do it alone.
Free Setup: At Doc Creatives, we offer free artwork setup. Just send your high-res files to [email protected], and we will create a digital proof for you to approve before we press "print."
5. Selecting the Perfect Size
Size matters when it comes to pricing and portability.
1-2 Inch: Perfect for "filler" items or phone charms.
2.5-3 Inch: The "Industry Standard" for Artist Alley. It’s large enough to show detail but fits comfortably on a set of keys.
4 Inch: Best for "Statement Charms" or complex illustrations.
Size Comparison Guide
Not sure which size to pick? Use the chart below to see how our charms compare to a standard credit card. Remember, we measure the size based on the longest edge of the entire charm (including the hole and the clear border).

Ready to start your first batch? [Click here to upload your design and get a quote today!]